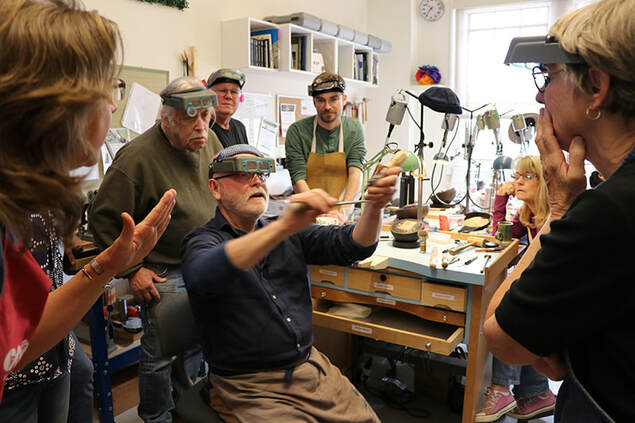
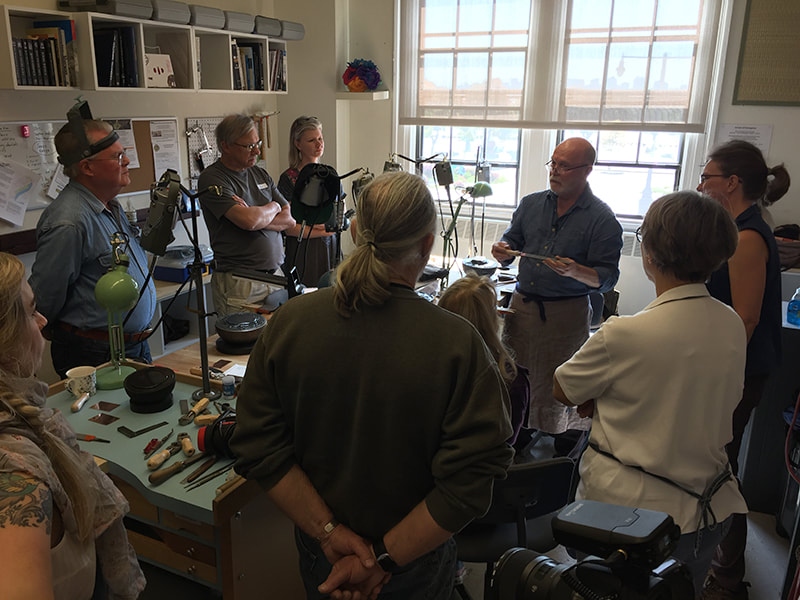
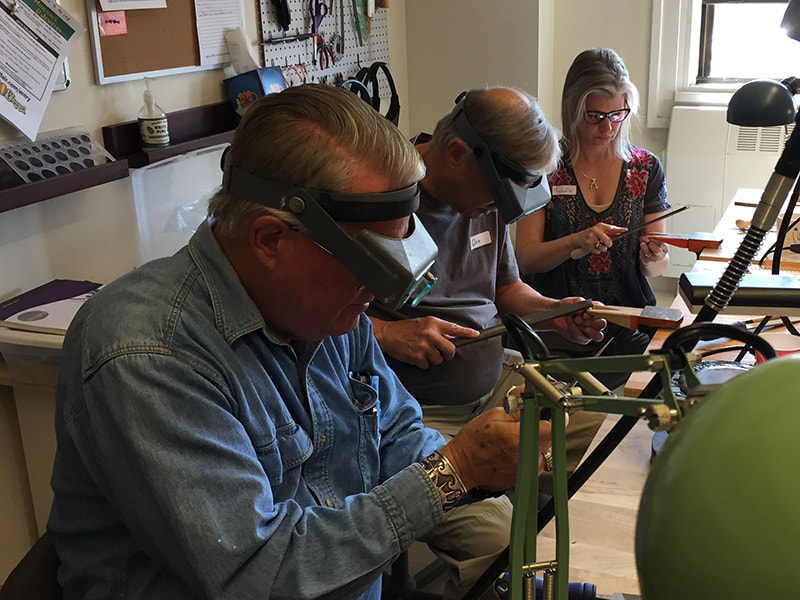
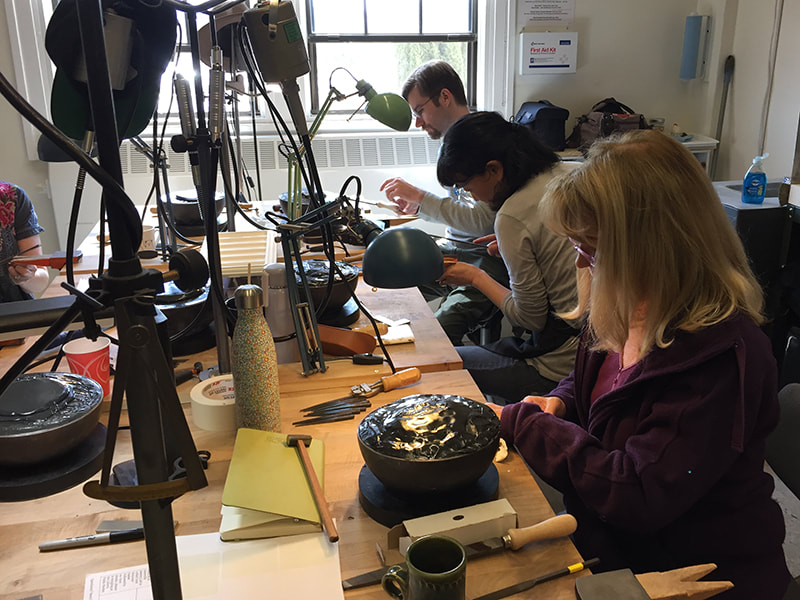
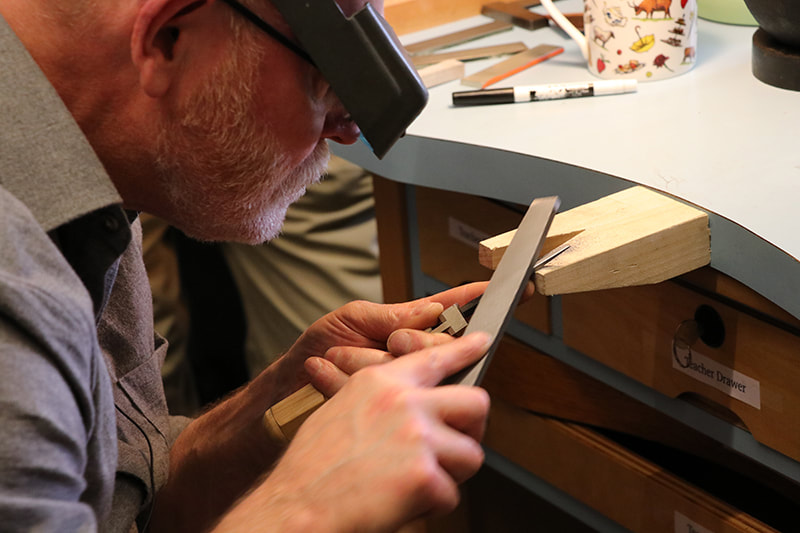
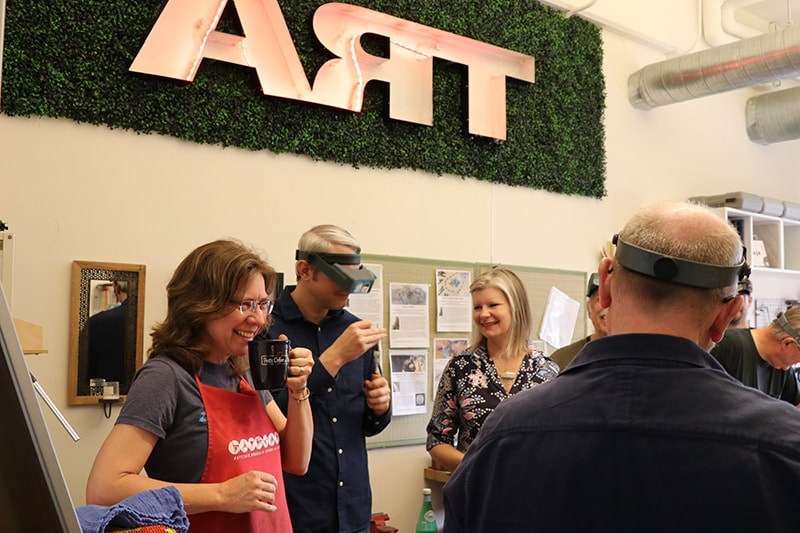
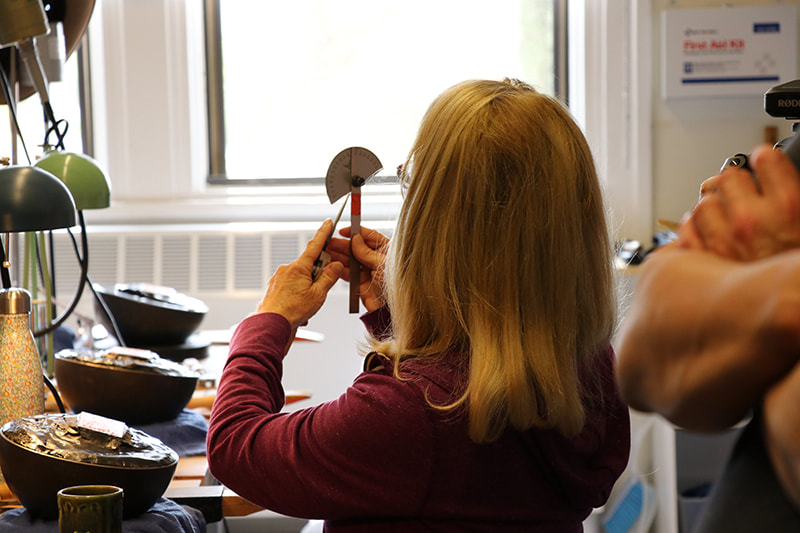
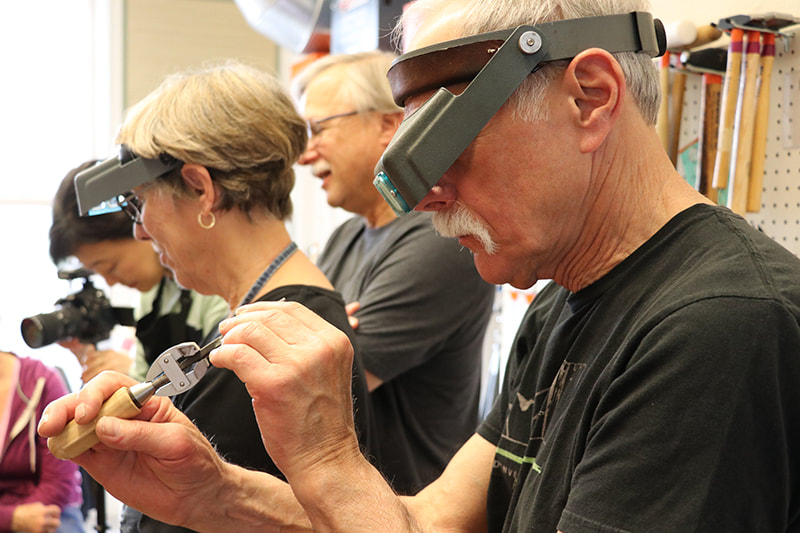
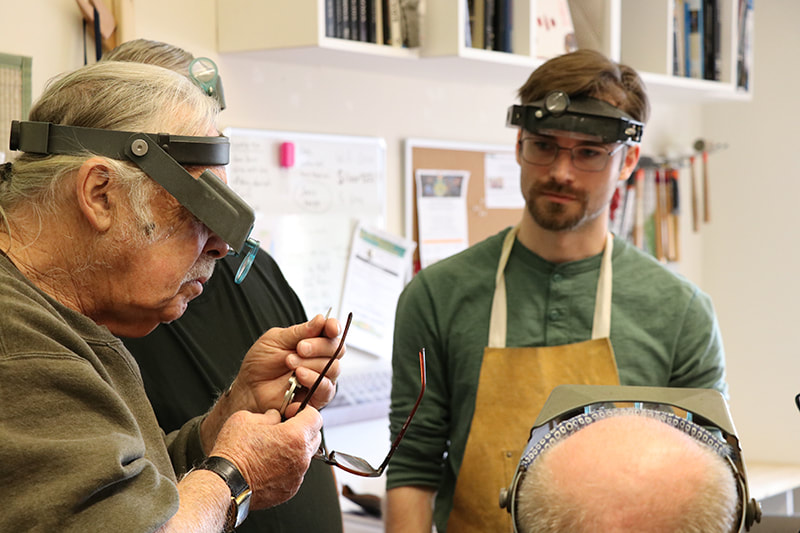
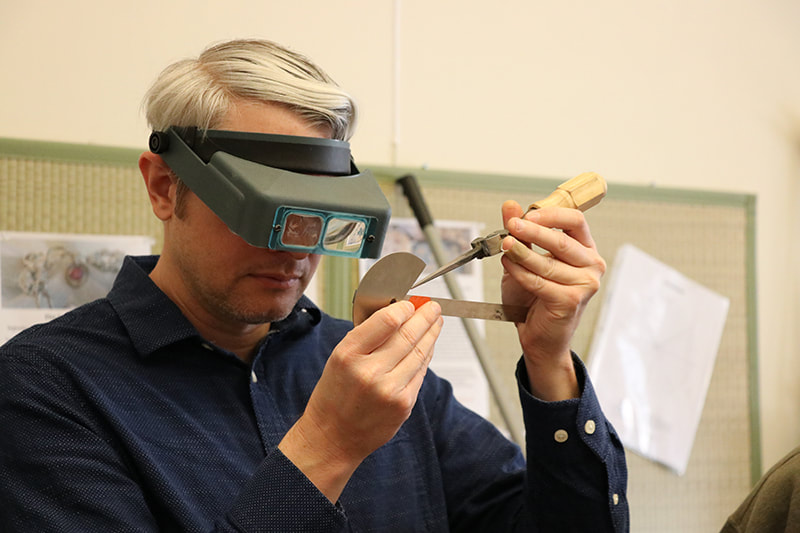
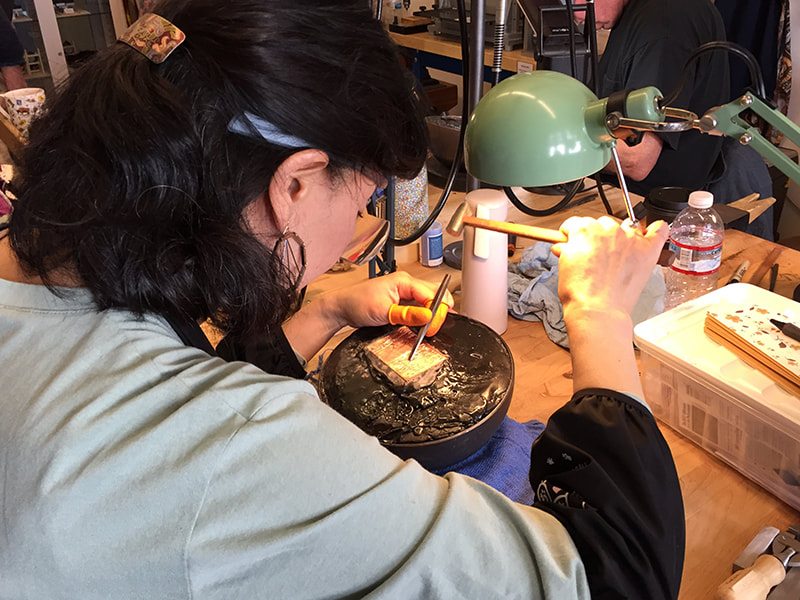
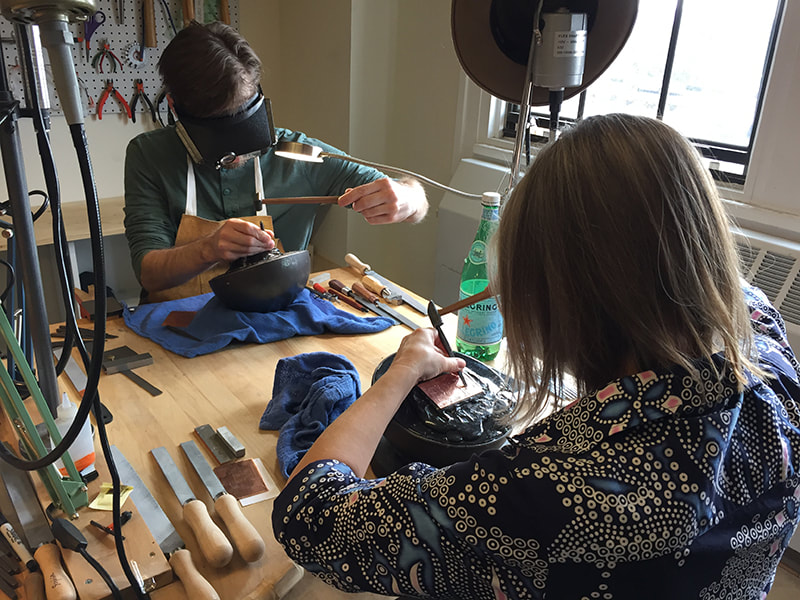
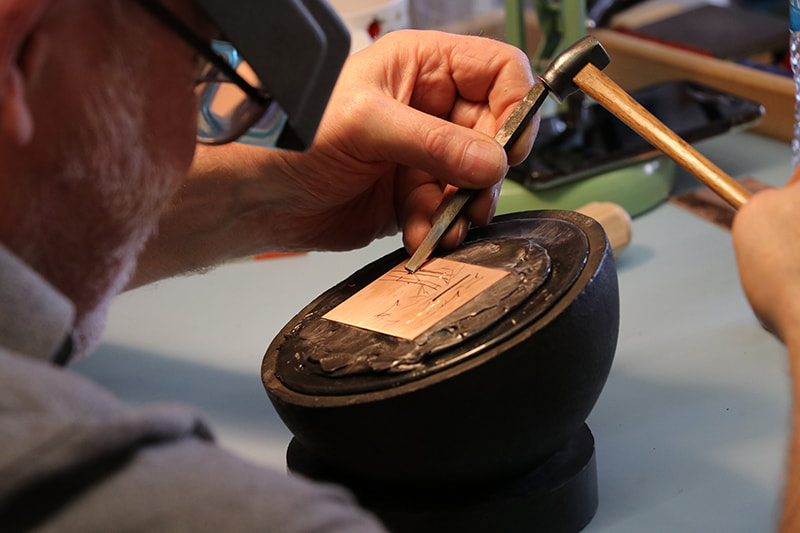
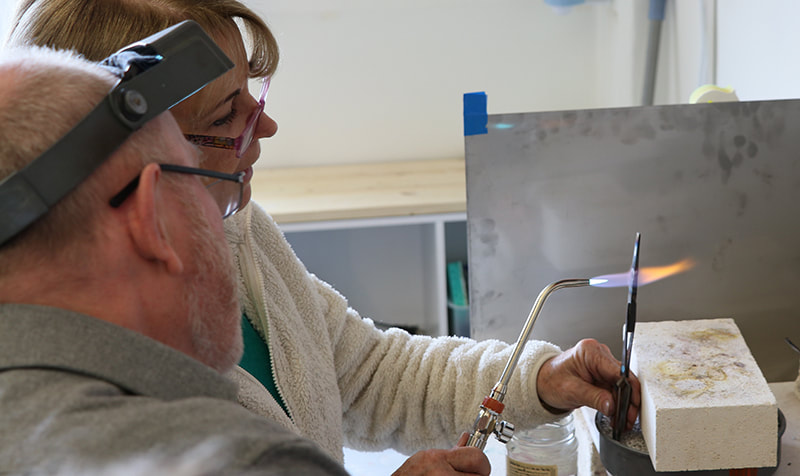
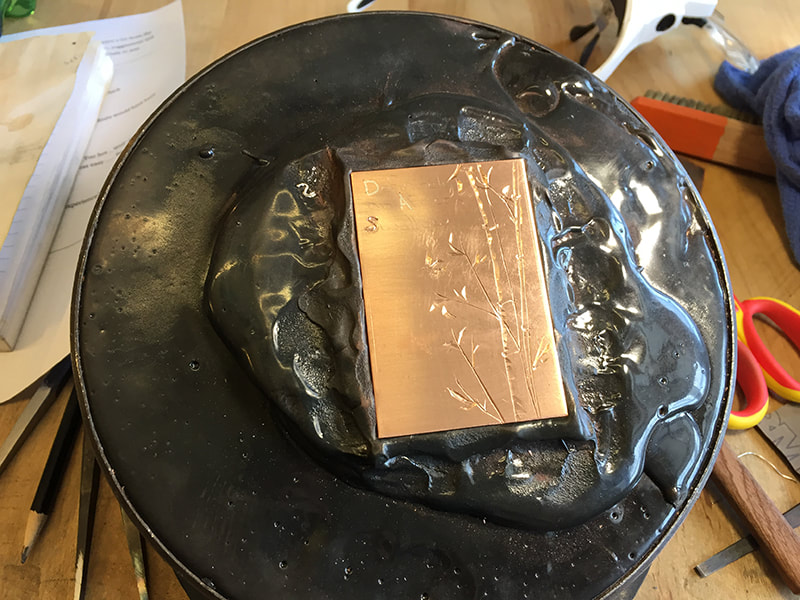
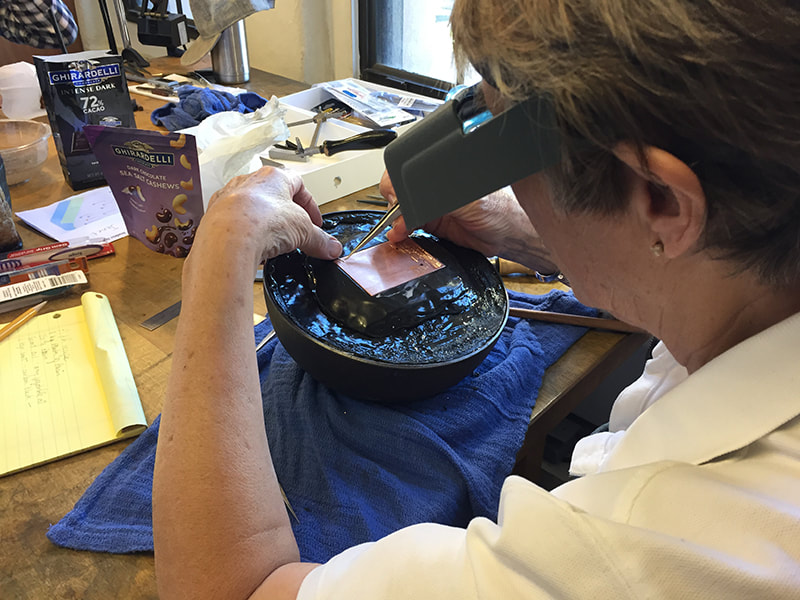
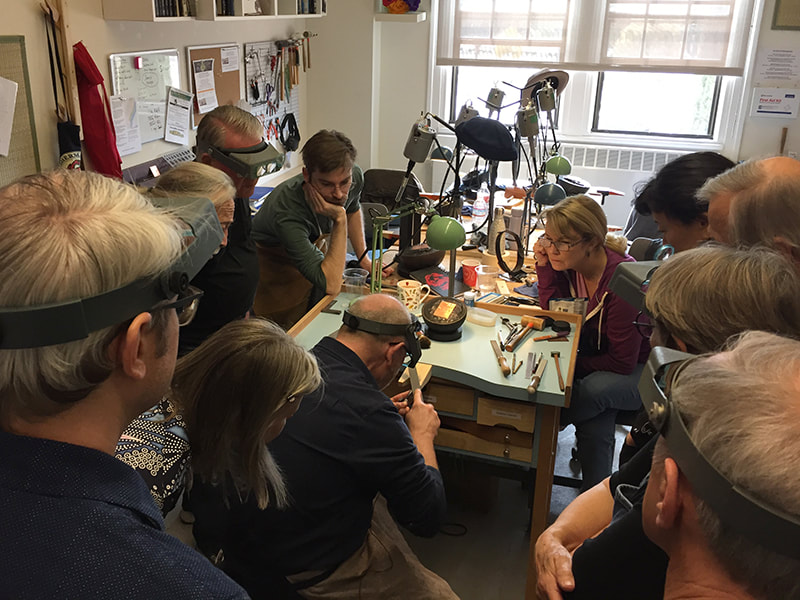
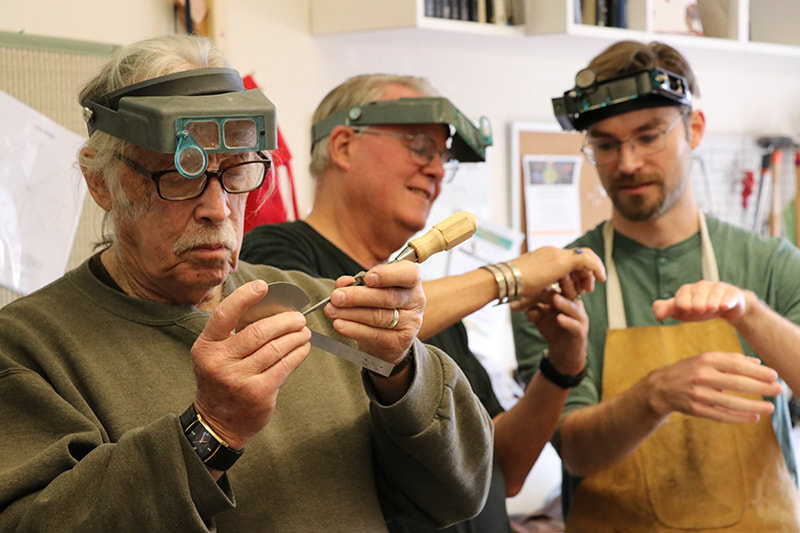
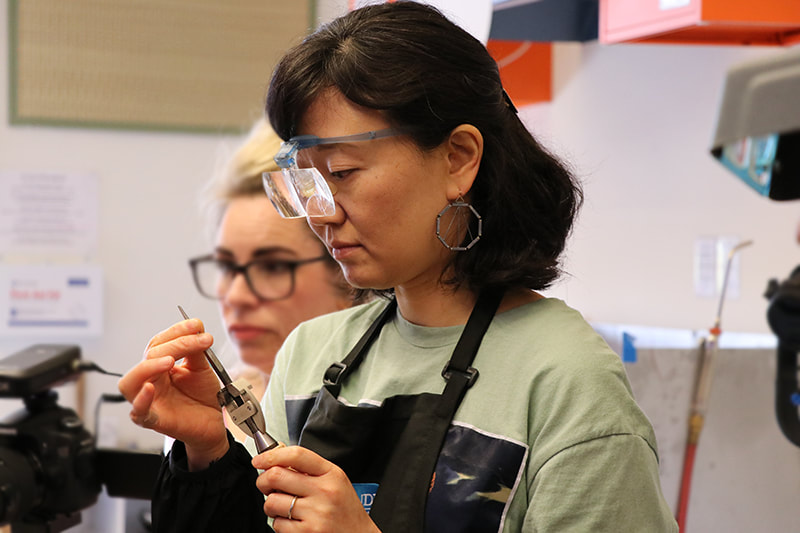
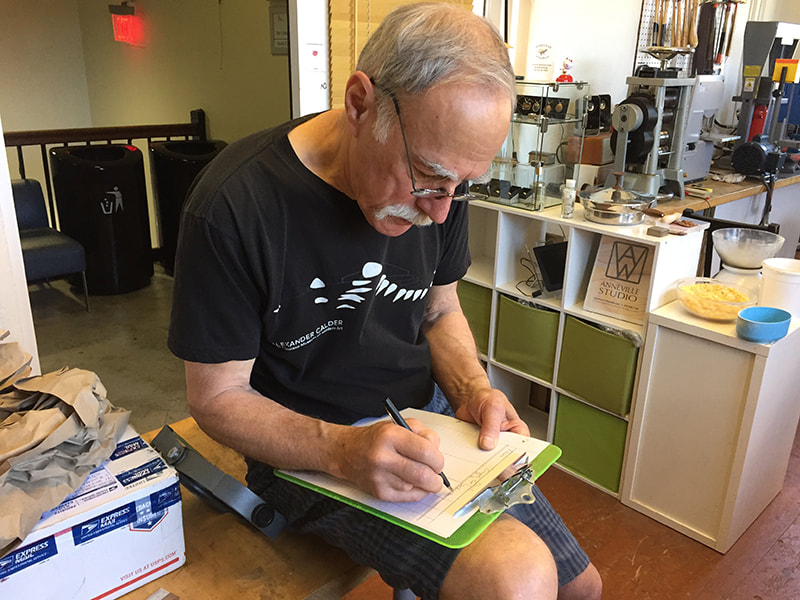
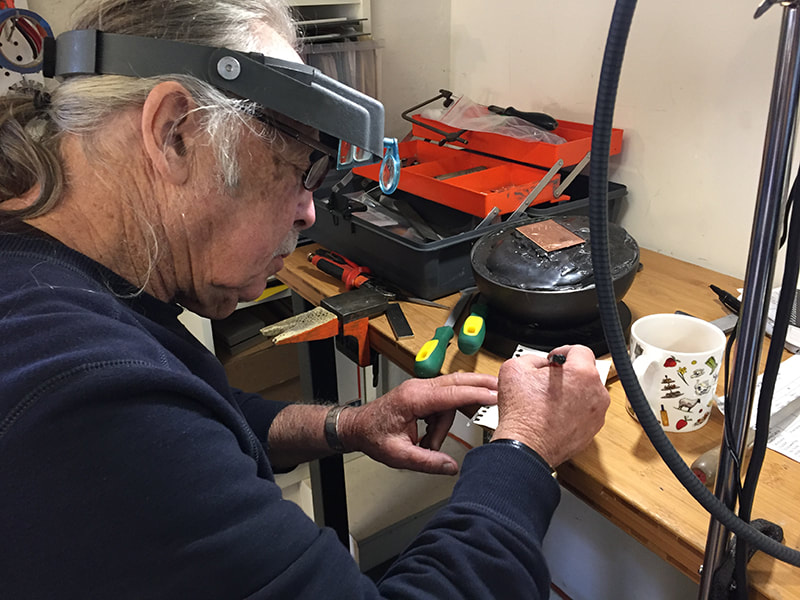
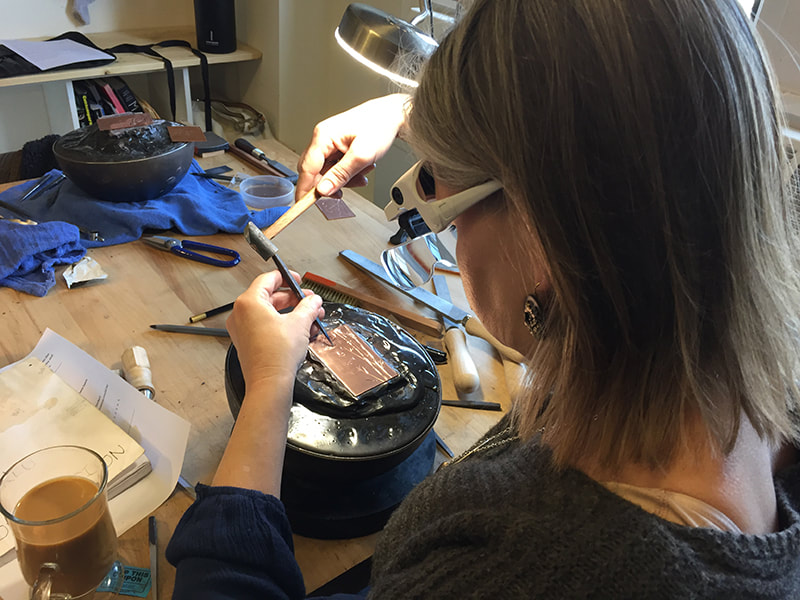
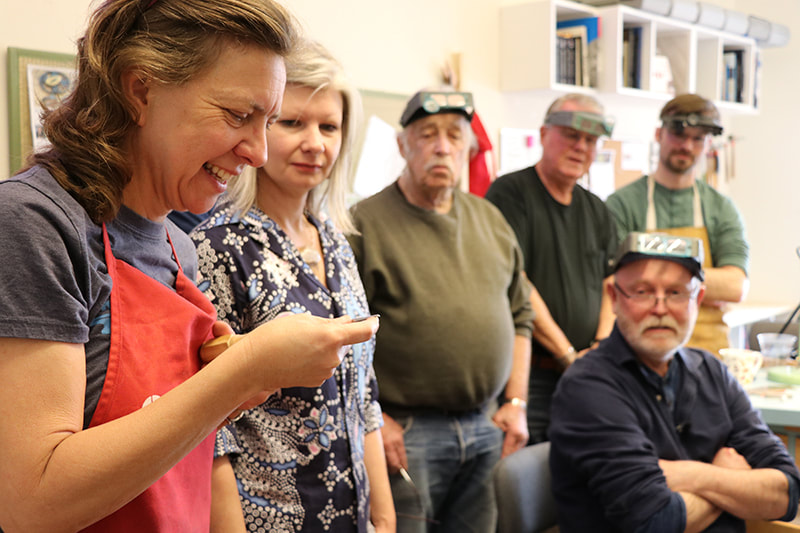
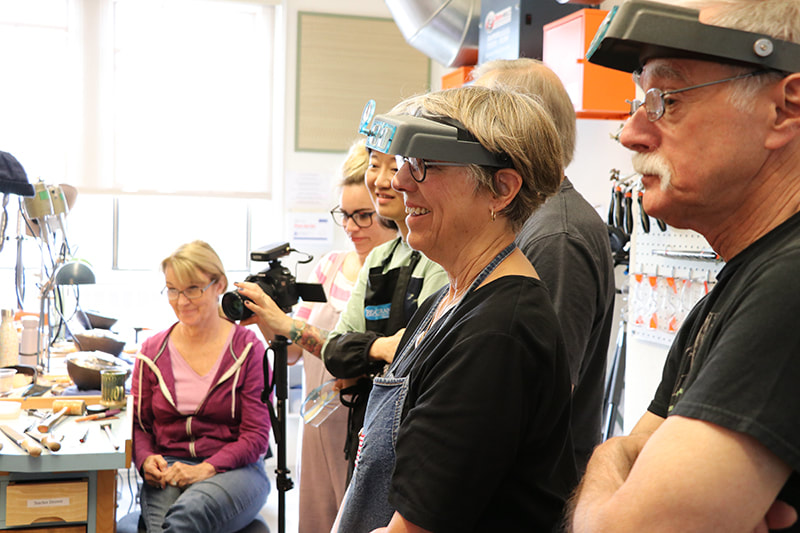
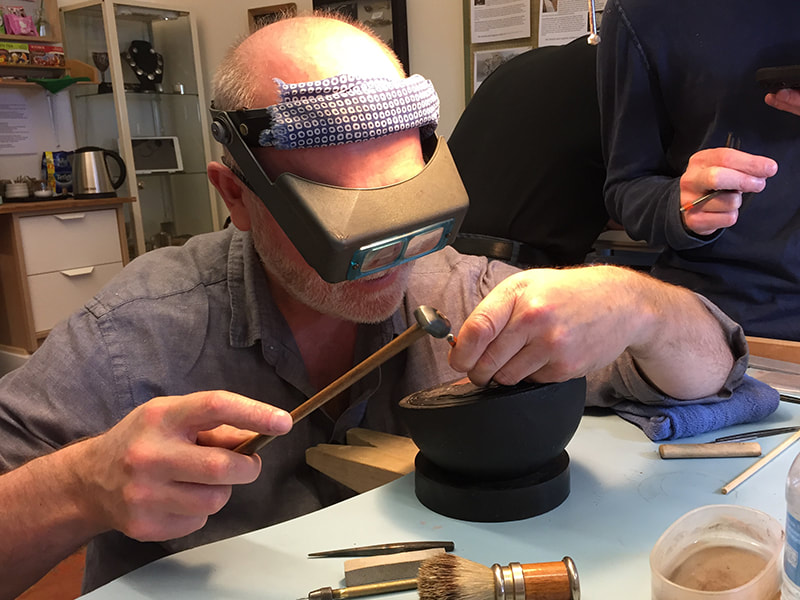
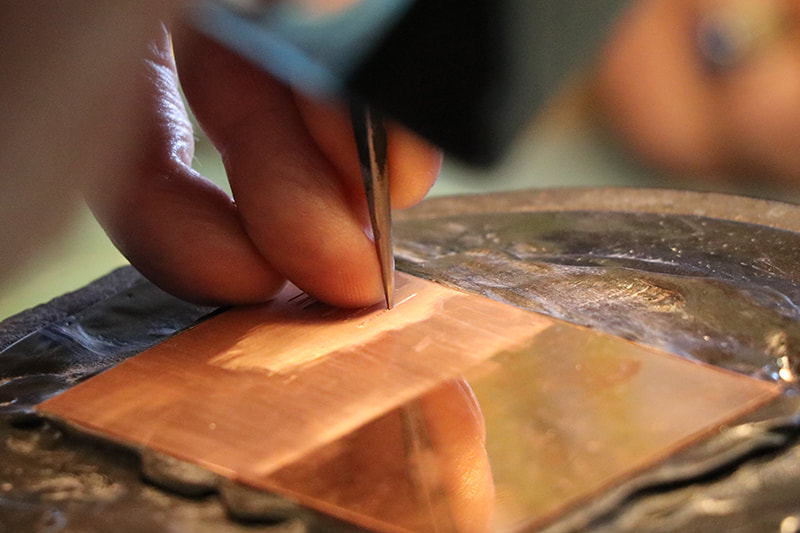
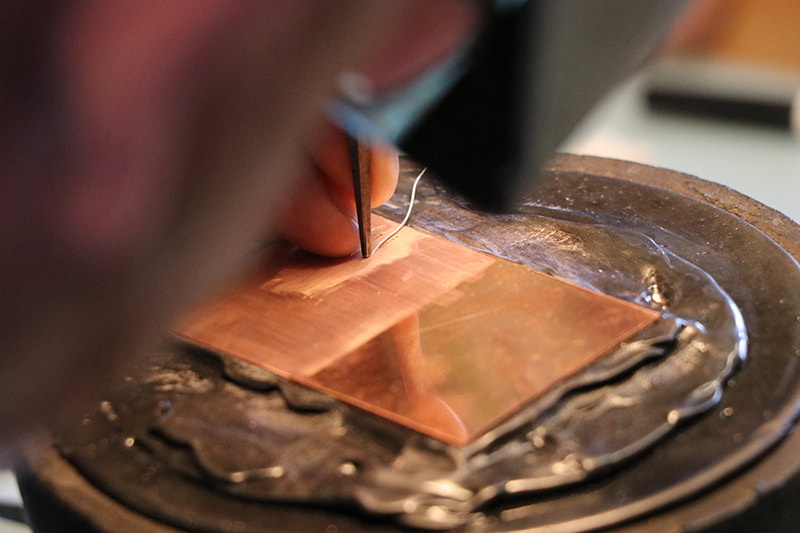
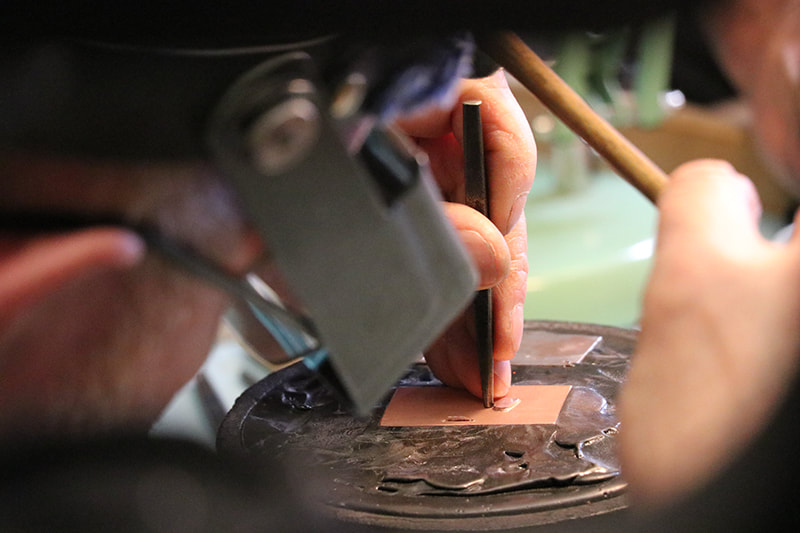
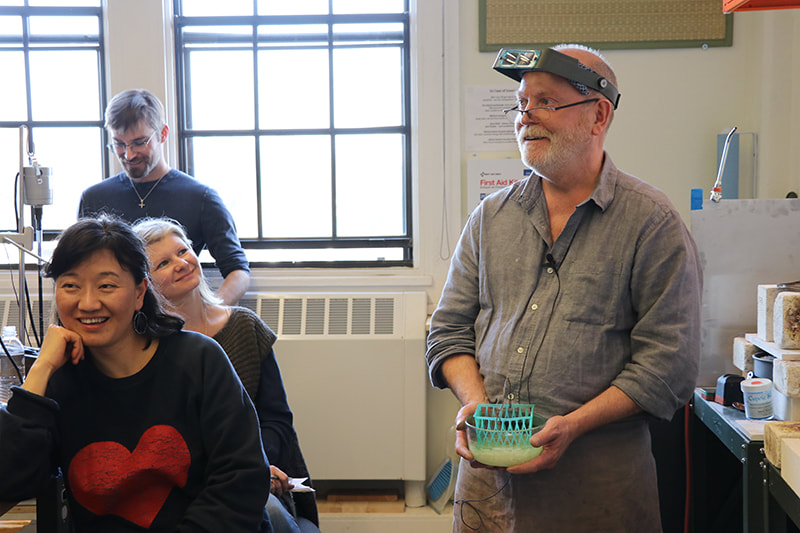
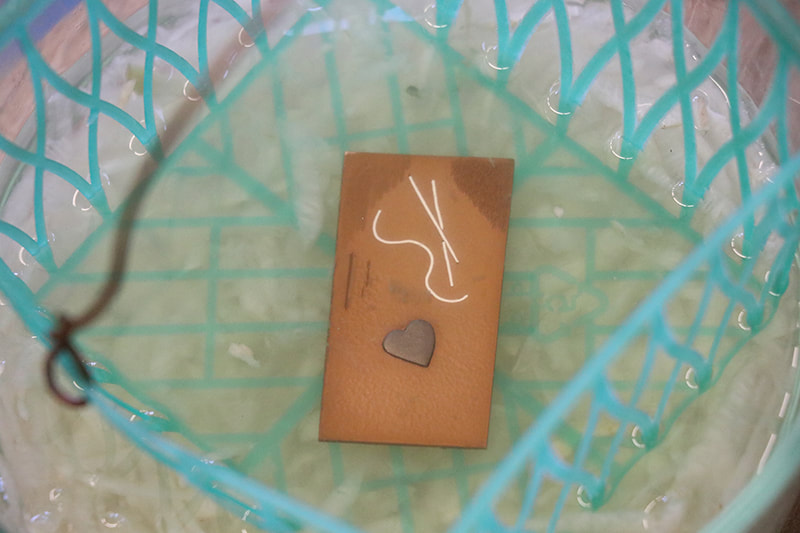
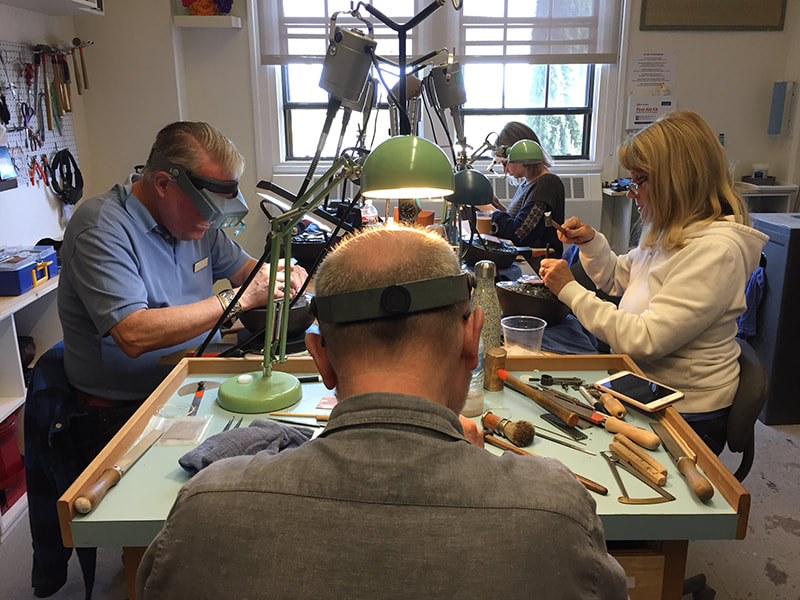
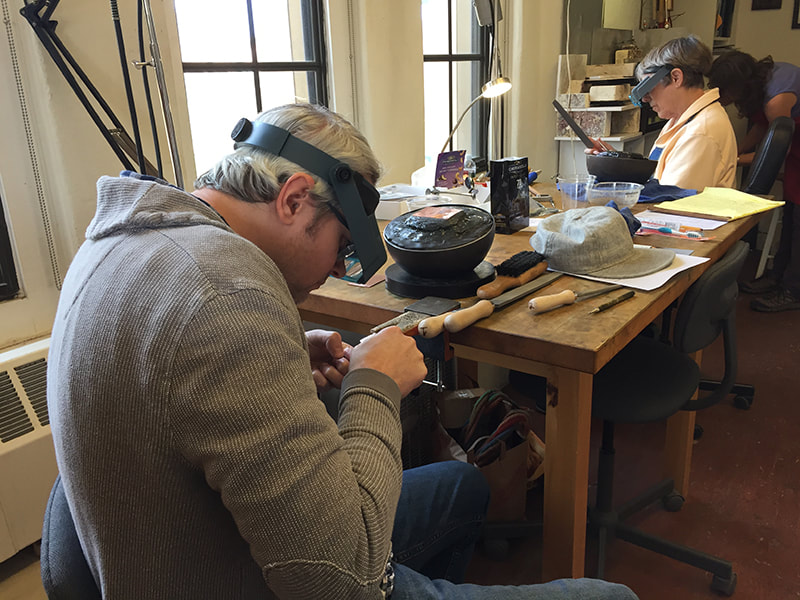
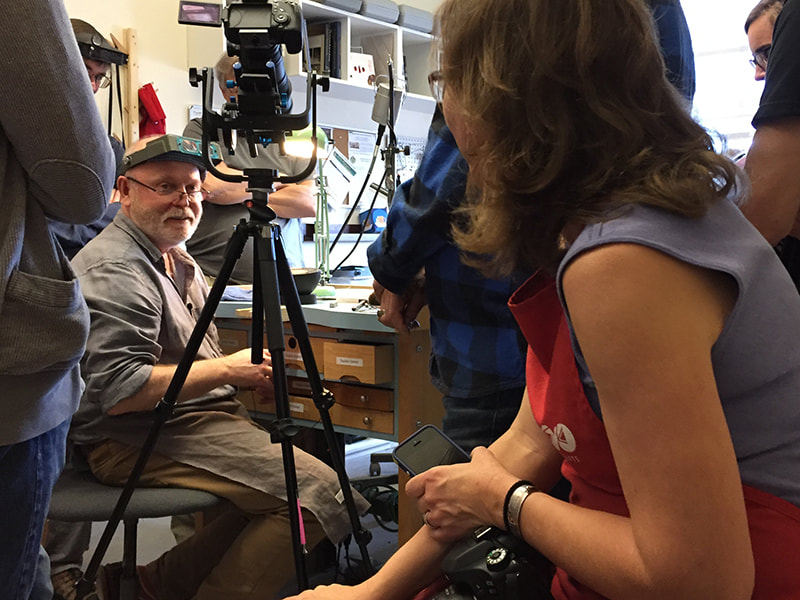
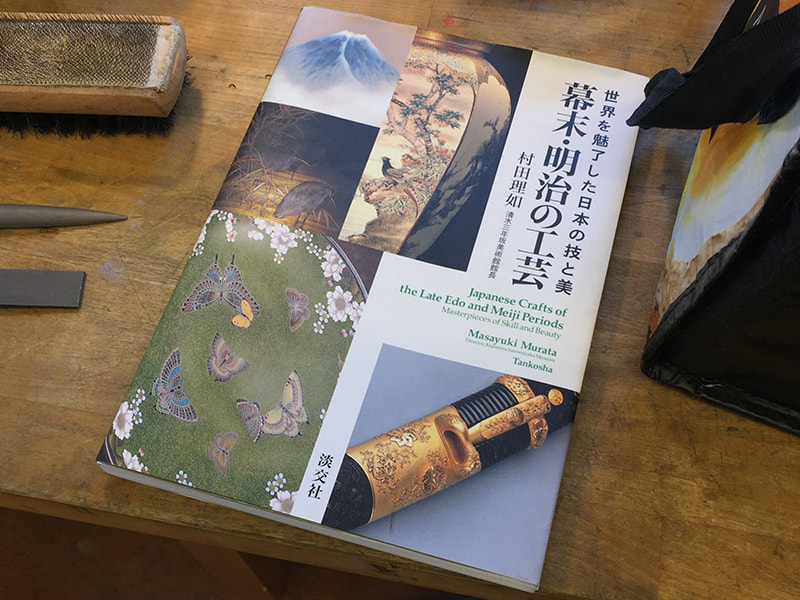
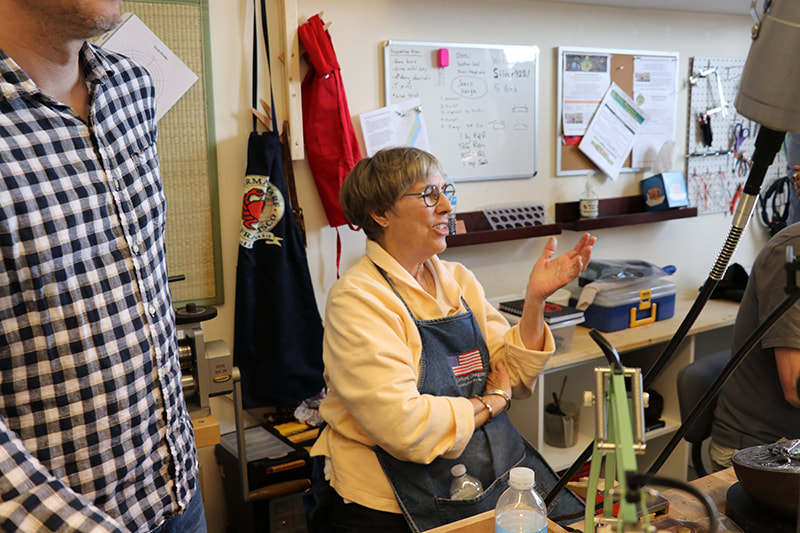
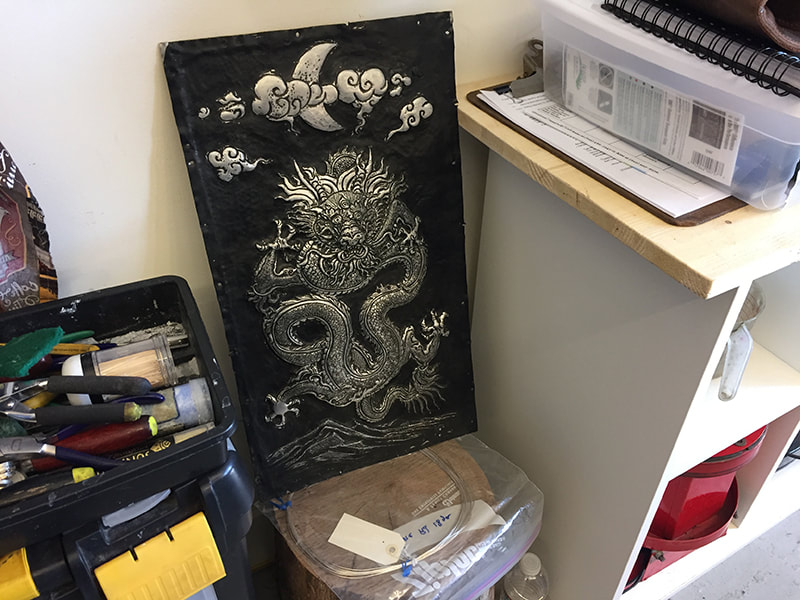
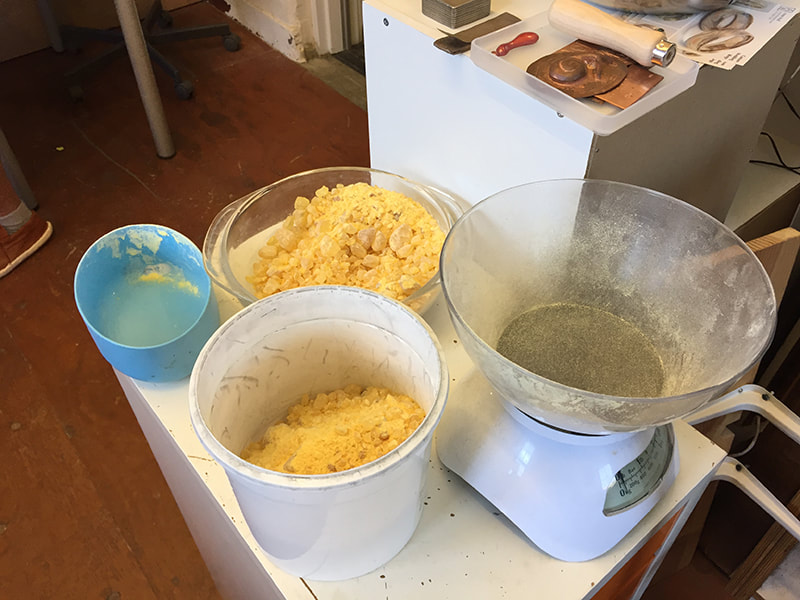
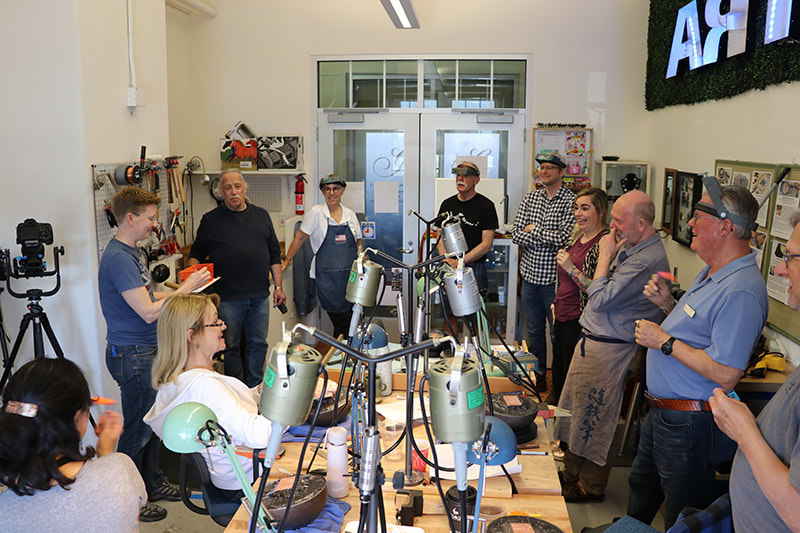
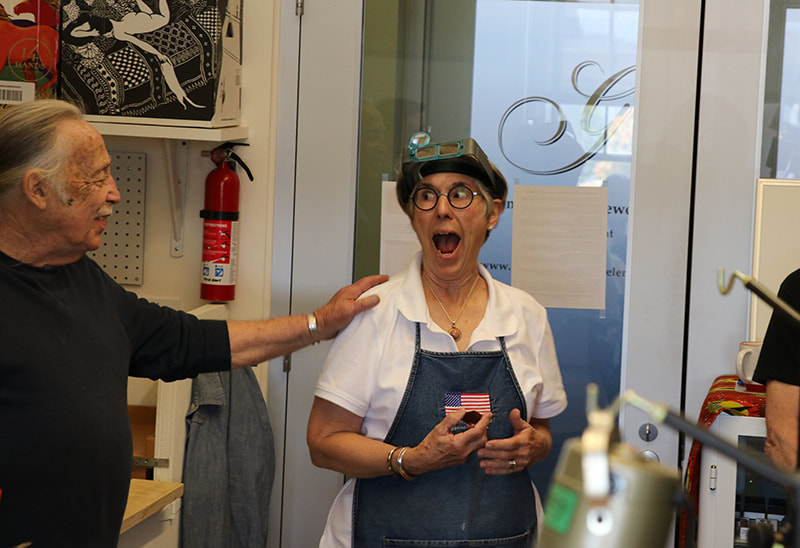
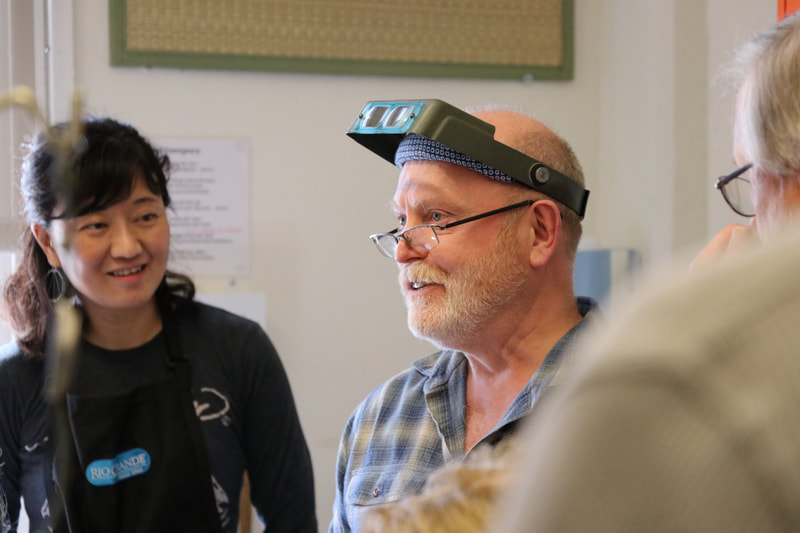
In search of the perfect angle: Ford Hallam's Introduction to Japanese Metalworking workshop4/12/2019 It's now been a few weeks since we hosted Ford Hallam here at Anneville Studio. It was an exciting time full of intense focus, silliness, camaraderie, struggles and victories. And that was just the first day! No seriously, it was a joy and an honour to have Ford and his videographer and goldsmith partner Bella Day here, to guide a new crop of students in the intricacies of traditional Japanese metalworking. From starting with our copper samples to making precision chisels to chiseling and inlay, here is a recap of this amazing experience. The first day started just as I remember my course did - Ford showed everyone how to file properly; specifically to file their copper blank to a true rectangle. Many of the class participants were teachers themselves and/or had many years of experience in the jewelry/metals field, but Ford's tips clearly blew them away - they dove right into the exercise, trying out his recommended techniques. This initial precision filing was a great warm-up to the next challenge - making the first chisel, the katakiri. He showed all the steps, allowing everyone to see the sample chisel close-up at different stages. Pretty soon everyone had their optivisors on, and the room was full of a focused energy and the hum of magicut files on steel. Click any image for a larger view. The first day started just as I remember my course did - Ford showed everyone how to file properly; specifically to file their copper blank to a true rectangle. Many of the class participants were teachers themselves and/or had many years of experience in the jewelry/metals field, but Ford's tips clearly blew them away - they dove right into the exercise, trying out his recommended techniques. This initial precision filing was a great warm-up to the next challenge - making the first chisel, the katakiri. He showed all the steps, allowing everyone to see the sample chisel close-up at different stages. Pretty soon everyone had their optivisors on, and the room was full of a focused energy and the hum of magicut files on steel. Click any image for a larger view. As each chisel was filed, participants checked with a protractor to see if it was close to the desired 60° angle, going back for adjustments if not. After filing as close to perfection as possible, Ford showed the next step - heat-hardening and tempering. I think many of the participants had done this before, but Ford's way of doing it included some great tips for getting an accurate temper. After tempering, the chisel was further refined and sharpened with a diamond stone. Click any image for a larger view. Then came the part everyone was waiting for - chiseling onto the copper! First the copper had to be put into the pitch bowl, then everyone needed a lot of practice getting used to their chisels, trying different angles and the most effective way to hold it. Ford showed specifics of how to create bamboo imagery - leaves, trunks, even the little junctions of the trunks. When I took the class a few years back we did actual calligraphy of Japanese characters instead. That was really hard - the bamboo was easier. He said he might teach a katakiri class sometime that focused just on creating traditional Japanese imagery like bamboo, cherry blossoms, and more. I'd love to take that! Click any image for a larger view. The v chisel came next. That was harder, but he did explain and show step-by-step. One of our participants, Earl Bushey, is an accomplished woodworker. He went home and used his notes to create jumbo wood versions of the v-chisel, showing all the different steps to make them. He gifted this great teaching aid to Ford's Anneville students - what a great reference. Thank you Earl!! Click any image for a larger view. Participants practiced with their v-chisel for a little while, then moved on to creating a tool for wire inlay. Ford demonstrated the wire inlay, then everyone got to practice their own using .3mm fine silver wire. Really! And I'm pretty sure everyone did it successfully. It was a good lesson, that working on a tiny scale really is possible if you go step-by-step and take the time to focus. One highlight was seeing Ford demonstrate the process of true (sheet) raised inlay. This is quite a bit more involved than wire inlay, but he made a quick shibuichi heart inlay look easy. (I'll be writing a separate blog post on this.) Click any image for a larger view. On the last day, he demonstrated the use of the traditional Japanese patina called rokusho, a way to make copper red to brown to orange, depending on how it is done. It was great to learn that all the ingredients for it are available in the U.S. - at least for now. Also on the last day, participants enjoyed an Anneville tradition - the raffle and 'kumbaya' session. It was illuminating to hear how much the class had meant to folks, what they had learned and how they were going to incorporate it into their work and/or their teaching. We raffled off an Anneville gift certificate, some mokume gane, and four different chisels made expertly by Ford! Click any image for a larger view. If all that sounds great to you but you missed it - stay tuned, because we will definitely be having Ford back again. Sign up on our mailing list so we can let you know when Ford is headed our way again. I also heartily recommend visiting Ford's Patreon page. There you'll find loads of great information and free videos. You might also consider becoming a Patron for unlimited access to his videos, first notice of new classes and more exclusive benefits. You'll find it at patreon.com/FordHallam. Interested in high res photos? Hang tight, they're coming soon!
0 Comments
Your comment will be posted after it is approved.
Leave a Reply. |
Anne WolfEducator, metalsmith, jeweler, maker of custom mokume gane jewelry and wedding rings.
Archives
July 2024
|
Home | Rings | Classes | About | Blog | Shop my Etsy Store | Contact | Policies | Join My Mailing List
Top quality, hand-crafted custom mokume gane wedding rings, jewelry and expert mokume gane instruction.
2750 Historic Decatur Road Studio 209 in Barracks 15 San Diego, CA 92106
619-488-7540
2750 Historic Decatur Road Studio 209 in Barracks 15 San Diego, CA 92106
619-488-7540
©2005-2019 Anneville Studio and Jewelry Lab. All rights reserved. 🔨
 RSS Feed